Thermometer setup guide
Wireless meat thermometer: fix the setup Bob always skips
Published August 5, 2026
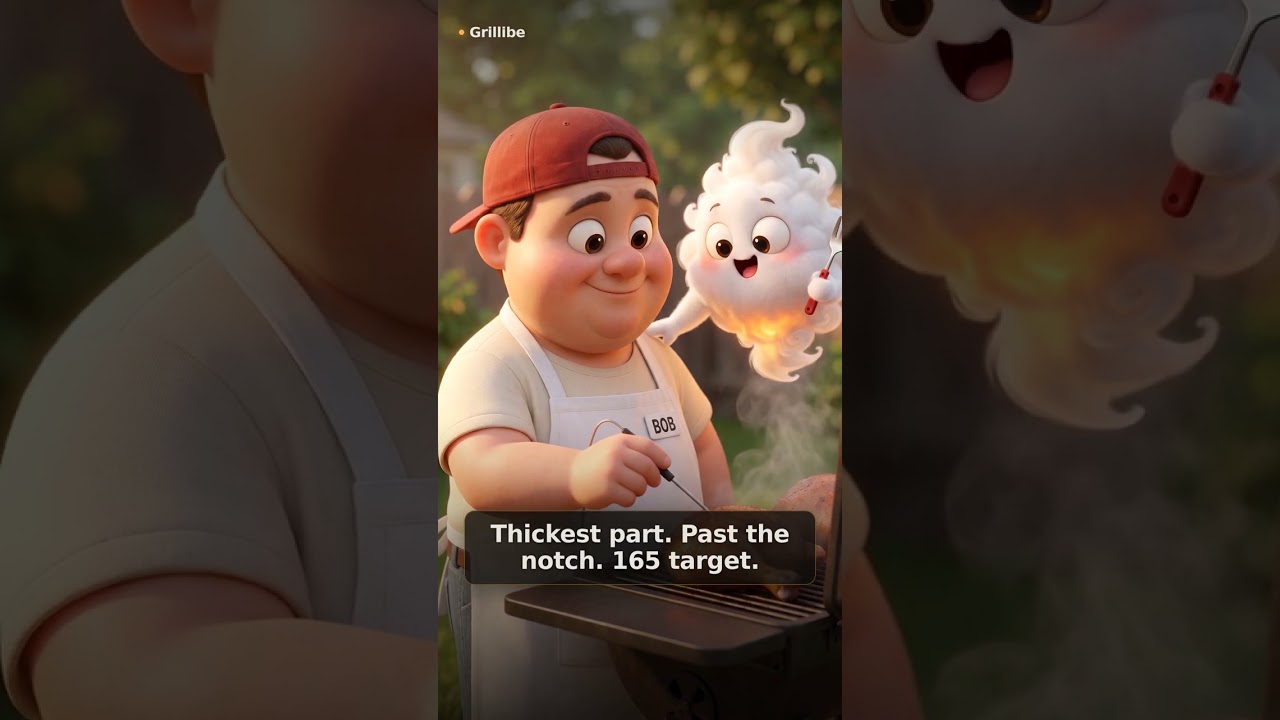
Bob got a wireless meat thermometer, tossed the probe in roughly, and trusted the app to handle the rest. His chicken hit 165 F on the display but the probe was sitting near the bone, so the reading was off and dinner was a gamble. A wireless thermometer is only as good as the setup behind it.
Affiliate disclosure: Grillibe may earn a commission from links on this page. We only recommend BBQ gear that fits the cook, problem, or beginner setup.
Quick answer
Push the probe into the thickest part of the meat, past the safety notch, so the tip is fully inside the food and away from bone. Set your target temp in the app: 165 F for chicken, 145 F for pork. If your model has an ambient sensor, position it about 2 inches from the meat surface to track pit temp. Charge the probe before a long cook since some models only give you 25 hours of battery from a quick charge.
How a wireless meat thermometer actually works
A wireless thermometer puts one sensor inside the meat and, on many models, a second sensor near the cooking environment. The pointed tip reads internal meat temperature while the shorter back end reads ambient pit temperature. Both numbers stream to a phone app or a handheld receiver in real time.
Most setups pair the probe to your phone over Bluetooth or Wi-Fi, then send an alert when the meat hits your preset target. That alert is the whole point. It lets you walk away from the grill without babysitting it, which is exactly what low-and-slow cooks need.
Probe placement: the step Bob always rushes
Flip's fix for a bad reading is simple: slow down on the placement. Push the probe into the thickest part of the meat until the tip clears the safety notch and the internal sensor is fully surrounded by food. A probe that is only halfway in will read the air around the meat, not the meat itself.
Keep the tip away from bone, gristle, the pan surface, or the cavity of poultry. Bone conducts heat differently than muscle, so a probe touching bone will read 5-10 F higher than the actual meat temperature. That false high reading is one of the most common reasons backyard cooks pull chicken that is still undercooked in the center.
Set the right target temperature before the cook starts
Open the app or receiver before the food goes on and dial in your target. Here are the temperatures that matter most for common backyard proteins:
The USDA Food Safety and Inspection Service confirms these safe internal temperatures for poultry and whole cuts of pork. Use them as your pull point, not a guess.
- 165 F for chicken, whole or pieces. Pull at this number and rest 5 minutes.
- 145 F for pork chops, tenderloin, and whole cuts. Rest 3 minutes after pulling.
- 203 F for pork shoulder and brisket. Collagen needs this range to fully break down.
- 225-250 F ambient pit temp for low-and-slow cooks. Set this as your second alert if your model supports it.
Using the ambient sensor to track your pit
If your thermometer has a second sensor that reads ambient temperature, position it about 2 inches from the meat surface. That placement gives you the temperature the meat is actually experiencing, not the temperature at the top of the dome where the built-in grill thermometer sits. Grill lid thermometers are notoriously unreliable and can read 25-50 F higher than the actual cooking zone.
For a low-and-slow smoke, you want to see the ambient reading hold steady between 225 F and 250 F. If it spikes above 275 F, you are cooking faster than planned and may need to adjust your vents or grill settings. If it drops below 200 F, your fire needs attention. Check out our smoked chicken thighs guide to see how ambient tracking changes the cook in practice.
Battery and connectivity: prep before the cook, not during
Some wireless probes advertise up to 25 hours of use from a charge that takes about 25 minutes. That sounds like plenty, but a pork shoulder can run 10-14 hours and a brisket can go longer. Charge the probe the night before any long cook so you are not scrambling for an outlet mid-session.
Bluetooth range is usually 30-50 feet in open air but drops fast through walls and metal. If your grill is far from the house, check that your phone stays connected before you walk inside. Some models extend range through a Wi-Fi bridge or a dedicated receiver you keep nearby. For a full breakdown of what to look for in a probe thermometer, ThermoWorks has a detailed buying guide that covers accuracy specs and probe types. You can also see the wireless probes we recommend on our gear page.
Short-form angle
Flip shows Bob the two most common probe placement mistakes in real time, side by side on a chicken thigh, with the wrong placement reading 10 F higher than the correct one.
FAQ
Where do you put the probe in a wireless meat thermometer?
Push the probe into the thickest part of the meat so the tip is fully inside the food, past the safety notch. Keep it away from bone, gristle, the pan, and the cavity of poultry. All of those surfaces conduct heat differently than muscle and will give you a false reading.
What temperature do I set on a wireless thermometer for chicken?
Set the target to 165 F for chicken. That is the USDA safe internal temperature for all poultry. Pull the chicken when the alert fires and let it rest 5 minutes before cutting.
Why is my wireless thermometer reading different from my grill thermometer?
Grill lid thermometers sit at the top of the dome, which is often 25-50 F hotter than the actual cooking zone near the grate. Your wireless probe's ambient sensor, placed 2 inches from the meat, gives you a much more accurate picture of what the food is actually experiencing.
How long does a wireless meat thermometer battery last?
It depends on the model, but some wireless probes offer up to 25 hours of use from a single charge. Always charge the probe the night before a long cook like a pork shoulder or brisket so you do not run out of battery mid-cook.
Can I leave a wireless meat thermometer in the meat the whole cook?
Yes, that is exactly what they are designed for. Leave the probe in from the start of the cook until the app or receiver fires the alert. Just make sure the probe is rated for the cooking temperature you are using, especially if you are running the grill above 300 F.